Monit can manage and monitor processes, programs, files, directories and filesystems of your UNIX server for you. You can program Monit to execute action for events like: service stops running or its using too much CPU or a host is unreachable. The following steps are tested running on my Linode server running Centos 7 64-bit. It is assumed that nginx is already installed in your system. If not, please follow this guide.
-
Install EPEL repository:
yum install epel-release yum update -
Install Monit:
yum install monit -
Activate Monit to start automatically during the system boot and start it:
systemctl enable monit systemctl start monit -
To configure Monit, open the /etc/monitrc file. We can change the polling frequency (which 30 seconds is the default and 240 seconds or four minutes delay after system boot or Monit start):
set daemon 30
    with start delay 240
The polling frequency depends on how many checks/tests you have defined, how fast you need Monit to act on events and this reflect the load the tests themselves add to your server.
Specify the mail server (if you are using one):
set mailserver mail.example.com port 25Define the global email address where the Monit send its alerts:
set alert [email protected] -
Add your basic checks:
vi /etc/monit.d/systemHave the following codes as the content. This checks the general system resources such as network, load average, cpu and memory usage. Each conditions specify action to be performed if the test failed.
## System
check system $HOST
  if loadavg (5min) > 3 then alert
  if loadavg (15min) > 1 then alert
  if memory usage > 80% for 4 cycles then alert
  if swap usage > 20% for 4 cycles then alert
  # Test the user part of CPU usage
  if cpu usage (user) > 80% for 2 cycles then alert
  # Test the system part of CPU usage
  if cpu usage (system) > 20% for 2 cycles then alert
  # Test the i/o wait part of CPU usage
  if cpu usage (wait) > 80% for 2 cycles then alert
  # Test CPU usage including user, system and wait. Note that
  # multi-core systems can generate 100% per core
  # so total CPU usage can be more than 100%
  if cpu usage > 200% for 4 cycles then alert

## Network
check network eth0 with interface eth0
  start program = "/sbin/ifup eth0"
  stop program = "/sbin/ifdown eth0"
  if failed link then restart
  if failed link then alert
  if changed link then alert
Please check this page for examples of Monit configuration checks: Monit configuration checks for common services running in CentOS 7.
-
Restart Monit:
systemctl restart monitNote: Every time we restart Monit, we need to wait four minutes as we have set the with start delay option above to four minutes. Else, we will get a "Connection refused" error when trying to test its web interface service:
curl -v http://admin:monit@localhost:2812 -
Create a domain for Monit, in this guide lets use monit.yoursite.com. Go to DNS manager and add monit as A record for yoursite.com
-
Now, lets create nginx configuration for monit.yoursite.com:
vi /etc/nginx/sites-available/admin/monit.yoursite.com.conf... and have the following codes as its content:
server {
  listen XXX.XXX.XXX.XXX:80; # IPv4
  listen [XXXX:XXXX::XXXX:XXXX:XXXX:XXXX]:80 ipv6only=on; # IPv6
  server_name monit.yoursite.com;

  location / {
    proxy_pass http://localhost:2812;
    auth_basic "Restricted";
    auth_basic_user_file /etc/nginx/key/.htpasswd-users;
  }
}
Note: Change the XXX.XXX.XXX.XXX and XXXX:XXXX::XXXX:XXXX:XXXX:XXX with your server's IPv4 and IPv6 addresses respectively.
-
Create symbolic link for monit.yoursite.com.conf in /etc/nginx/sites-enabled/ to enable this configuration:
ln -s /etc/nginx/sites-available/admin/monit.yoursite.com.conf /etc/nginx/sites-enabled/monit.yoursite.com.conf -
Add password protection to monit.yoursite.com:
htpasswd /etc/nginx/key/.htpasswd-users adminThis command will prompt password for the new user with the name admin.
-
Restart nginx:
systemctl restart nginx -
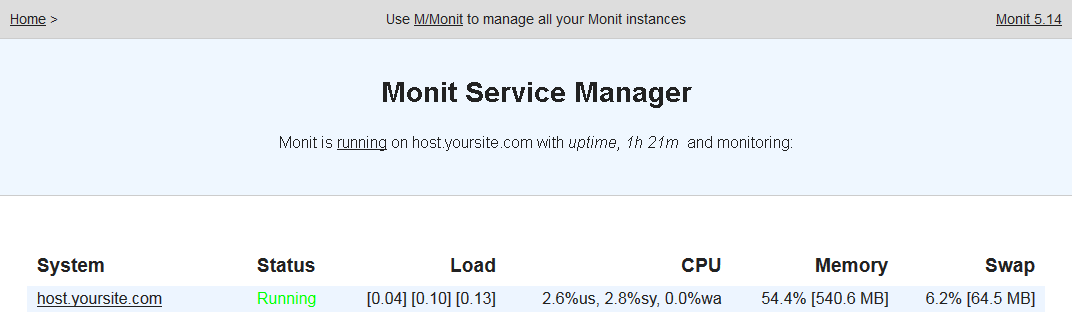
Your Monit web interface can be accessed at http://monit.yoursite.com: